
Discover the convenience of free slipper sewing patterns, offering a cost-effective way to create custom footwear. Perfect for all skill levels, these patterns provide easy-to-follow guides.
1.1 What Are Free Slipper Sewing Patterns?
Free slipper sewing patterns are downloadable PDF templates that provide a guide for creating custom slippers. These patterns include printable templates, cutting guides, and step-by-step instructions. Designed for various skill levels, they cater to both beginners and experienced sewists. Available online, they often feature adjustable sizes and versatile designs, allowing users to craft slippers from materials like fleece, flannel, or upcycled fabrics. Perfect for DIY projects, these patterns make slipper-making accessible, affordable, and enjoyable for everyone. They offer a creative way to tailor footwear to personal preferences and needs.
1.2 Benefits of Using Free PDF Patterns
Free slipper sewing pattern PDFs offer numerous advantages for sewists. They are cost-effective, providing affordable access to high-quality designs. These patterns are easily downloadable and printable, saving time and effort. Many include adjustable sizes, allowing customization for a perfect fit. Additionally, free PDF patterns often come with tutorials or step-by-step guides, making them ideal for beginners. They also enable creativity, as users can experiment with various fabrics and embellishments. Perfect for DIY projects, free PDF patterns make slipper-making accessible, fun, and budget-friendly for crafters of all skill levels.
Materials and Tools Needed for Sewing Slippers
Sewing slippers requires basic materials like fabric, thread, and notions. Essential tools include a sewing machine, scissors, and measuring tape. Proper supplies ensure quality results.
2.1 Fabric Requirements for Different Slipper Styles
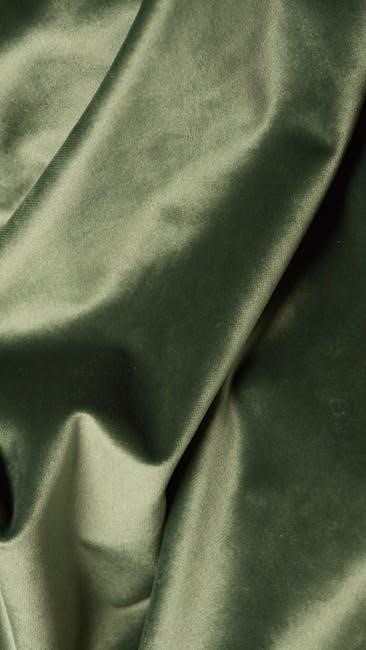
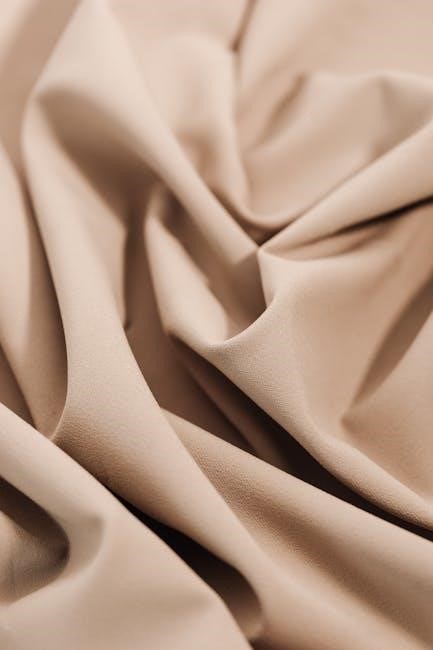
Choose fabrics based on slipper style and durability. Fleece and flannel are ideal for warmth, while cotton or linen offer breathability. Neoprene or suede provide a more rugged look. Consider upcycled materials like old sweaters for eco-friendly options. Ensure fabric thickness matches the intended use, from lightweight indoor slippers to sturdy outdoor designs. Always pre-wash fabrics to avoid shrinkage. The right fabric choice enhances comfort and longevity of your handmade slippers.
2.2 Essential Sewing Tools and Notions
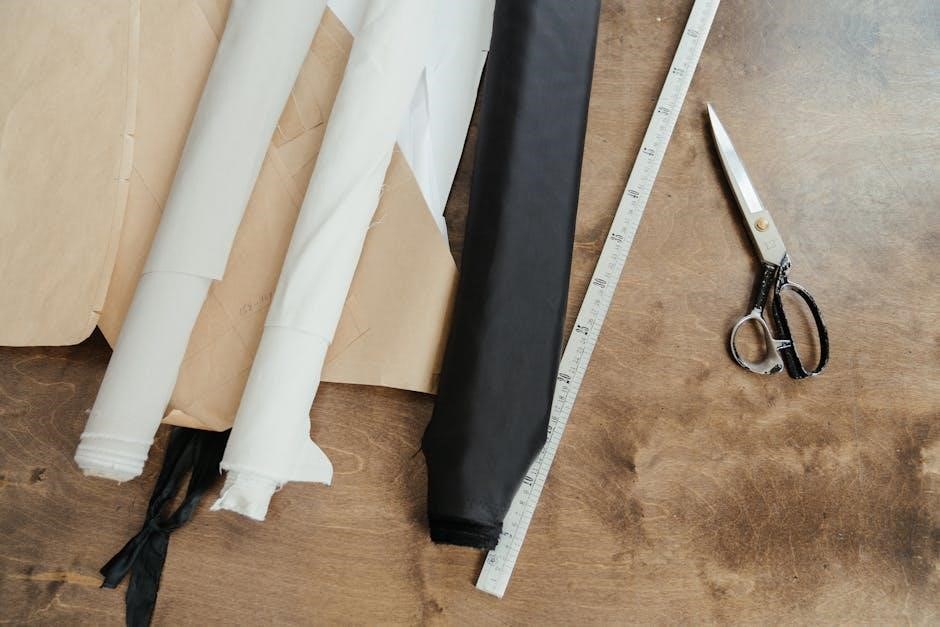
To sew slippers effectively, gather essential tools like a sewing machine, sharp scissors, and a rotary cutter for precise fabric cutting. A sewing mat and ruler ensure accuracy. Heavy-duty needles and strong threads are crucial for durability. Interfacing or stabilizer may be needed for structure. Don’t forget notions like zippers, elastic, or ribbons for closures. A walking foot or Teflon foot can help with thick fabrics. Having these tools ready ensures a smooth and professional sewing process.
How to Use a Free Slipper Sewing Pattern PDF
Download and print the PDF, ensuring proper scaling. Align pattern pieces on fabric, cut accurately, and follow step-by-step instructions for a seamless sewing experience.
3.1 Downloading and Printing the Pattern
Start by downloading the free slipper sewing pattern PDF from a trusted source. Ensure your printer settings match the pattern’s requirements, typically US Letter or A4 size. Before printing, verify the scaling by checking the test square provided in the pattern. Print all pages and assemble the pattern pieces according to the instructions. Some patterns include a projector file for convenience. Always review the tutorial or guide linked with the pattern for specific tips on printing and preparing your fabric accurately.
3.2 Understanding Pattern Pieces and Instructions
Familiarize yourself with the pattern pieces, which typically include the slipper upper, sole, and lining. Each piece is labeled with specific markings like grain lines and notches. The instructions guide you through cutting fabric accurately and sewing each component together; Pay attention to symbols and notes, as they indicate right/wrong sides, seam allowances, and assembly order. Some patterns include diagrams or photos for clarity. Understanding these elements ensures proper construction and a professional finish. Always read through the instructions before starting your project for the best results.
Customization and Personalization Options
Customize your slippers with fabric choices, decorative elements, and size adjustments. Personalize the fit, style, and comfort to suit individual preferences, making each pair truly unique and special.
4.1 Adjusting Sizes for the Perfect Fit
Ensure a comfortable fit by resizing patterns to match individual measurements. Use techniques like grading or scaling to adjust lengths and widths. Add foam inserts for support.
4.2 Adding Decorative Elements and Embellishments
Personalize your slippers with creative embellishments like appliques, ribbons, or embroidery. Use contrasting fabrics for a pop of color or add decorative stitching for texture. Incorporate eco-friendly materials or upcycle old fabrics for a unique touch. Consider adding a non-slip sole for functionality. These details enhance comfort and style, making each pair truly one-of-a-kind. Get creative and experiment with different patterns and designs to reflect your personal taste.
Popular Free Slipper Sewing Patterns Available Online
Explore a variety of free slipper patterns, including fleece, upcycled, and toddler designs. These patterns are easy to download and offer versatile options for all skill levels.
5.1 Fleece Slipper Patterns for Adults
Fleece slipper patterns are a popular choice for adults due to their warmth and comfort. These patterns are often simple, making them ideal for beginners. They typically require minimal fabric and can be customized with different sizes and styles. Many free PDF patterns offer adjustable sizing, allowing for a perfect fit. Fleece is also easy to work with, making these slippers a quick and cozy project. Perfect for winter, they can be made in various designs, from plain to decorative, ensuring something for everyone.
Additional features like sole inserts or grip bottoms can be added for durability and traction. These patterns are readily available online, offering a budget-friendly way to create personalized footwear. Whether for personal use or as gifts, fleece slippers are a practical and thoughtful option. Their ease of sewing and comfort make them a favorite among sewists of all levels. With numerous free patterns available, you can easily find one that suits your needs and skill level.
5.2 Upcycled and Eco-Friendly Slipper Designs
Upcycled and eco-friendly slipper designs are a great way to create sustainable footwear. Many free patterns use repurposed materials like old sweaters, fleece, or fabric scraps, reducing waste. These designs often feature simple constructions, making them accessible to sewists of all levels. By using eco-conscious materials, you can craft slippers that are both comfortable and environmentally friendly; This approach encourages creativity and helps give new life to discarded fabrics.
These patterns frequently include tips for customizing with leftover fabric, allowing for unique and personalized designs. Perfect for those who value sustainability, upcycled slippers are a practical and thoughtful project. They also make great gifts, promoting eco-friendly practices while keeping feet warm and cozy.
Step-by-Step Guide to Sewing Slippers
Learn to sew slippers with ease using free PDF patterns. Follow a structured guide to cut fabric, sew pieces, and assemble the final product confidently.
- Cut fabric pieces according to the pattern.
- Sew the slipper upper and sole together.
- Add embellishments or lining for comfort.
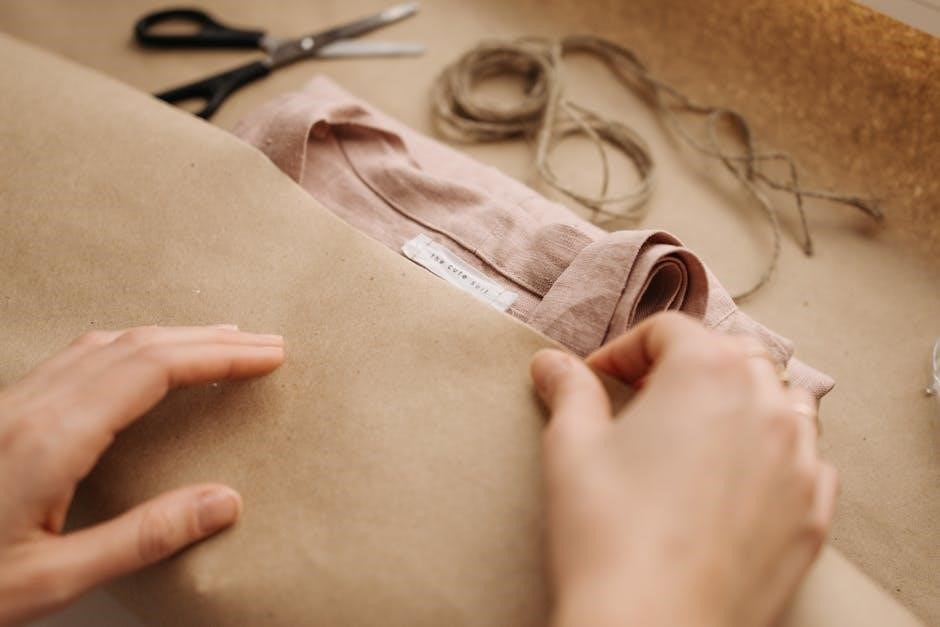
6.1 Cutting Out Fabric Pieces
Cutting fabric accurately is crucial for slipper sewing. Start by printing and assembling the PDF pattern. Place it on your fabric, ensuring alignment with the grain. Use scissors or a rotary cutter for precise cuts. Cut two main pieces: the upper and the sole. If using fleece, cut an additional lining for warmth. Transfer all markings carefully. Double-check measurements before cutting to avoid errors. This step ensures a professional finish and proper fit. Accurate cutting sets the foundation for a successful sewing project.
- Use sharp tools for clean cuts.
- Consider fabric thickness and stretch.
- Label pieces for easy identification.
6.2 Sewing the Slipper Upper and Sole
Begin by placing the upper and sole pieces right sides together. Sew along the edges, leaving a small opening for turning. Carefully turn the slipper right side out and press the seams. Topstitch for a polished look. Attach the sole, ensuring it aligns perfectly for durability and comfort. Finish seams to prevent fraying. Ensure the fit is comfortable and adjust as needed. Use a walking foot for smooth sewing, especially with thick fabrics like fleece. Follow pattern instructions closely for a professional finish.
Tips for Beginners and Experienced Sewists
Start with simple patterns, use quality fabrics, and follow instructions closely; For a perfect fit, measure accurately and adjust sizes. Avoid common mistakes like uneven seams or misaligned pieces by taking your time. Experienced sewists can explore advanced techniques like adding decorative stitching or reinforced soles; Use a walking foot for smooth sewing, especially with thick fabrics like fleece. Properly finish seams to prevent fraying and ensure durability. Practice makes perfect, so don’t hesitate to experiment and refine your skills with each project. Happy sewing!
7.1 Common Mistakes to Avoid
When sewing slippers, avoid common errors like incorrect sizing, poor fabric choices, and not following pattern instructions. Ensure accurate measurements and proper alignment of pieces. Neglecting to pre-wash fabric or using low-quality materials can lead to subpar results. Cutting corners, such as skipping interfacing or stabilizers, may compromise durability. Additionally, not backstitching seams or improperly finishing edges can result in fraying. Pay attention to grain lines and use the correct tools, like a walking foot, for smooth sewing. These mistakes can be avoided with patience and attention to detail.
7.2 Advanced Techniques for Professional Finishes
Elevate your slipper-making skills with advanced techniques like topstitching for a polished look, adding a lining for comfort, or incorporating elastic for a secure fit. Use high-quality materials and consider serging seams for a professional finish. Adding decorative elements, such as embroidery or appliqué, can enhance the design. Properly interfacing and stabilizing fabrics ensures durability. For a sleek appearance, use binding or ribbon to finish raw edges. These techniques will give your slippers a professional, store-bought quality while maintaining a personalized touch.
Free slipper sewing patterns offer a fun, customizable way to create cozy footwear, perfect for all skill levels and preferences, ensuring comfort and personal style effortlessly.
8.1 Final Thoughts on Making Your Own Slippers
Creating your own slippers using free PDF patterns is a rewarding and cost-effective hobby. It allows for personalization, ensuring a perfect fit and style to suit any preference. Whether you’re a beginner or an experienced sewist, these patterns offer flexibility and creativity. From cozy fleece designs to eco-friendly upcycled materials, making slippers can be both fun and sustainable. The process fosters a sense of accomplishment and allows for unique, handmade footwear that combines comfort with personal flair. It’s an excellent way to explore sewing while crafting something truly useful and enjoyable.
8.2 Encouragement to Try the Patterns
Don’t hesitate to dive into the world of slipper sewing with these free PDF patterns! They’re perfect for sewists of all skill levels, offering a fun and creative way to craft cozy footwear. Whether you’re making slippers for yourself or as a thoughtful gift, the process is both rewarding and enjoyable. Embrace the opportunity to personalize your designs and experiment with different fabrics and embellishments. With these patterns, you’ll discover how easy it is to create something truly special and functional. Give it a try—you’ll love the results!